Page 34 - MMI-SeptOct2021 SM upload
P. 34
Avoiding tolerance conflicts


                         Source: Nagel Precision Inc.   The different ways we measure surface finish come with fine dis-
                                                        tinctions, says Keshavan. Roughness average (Ra) is a parameter com-
                                                        monly used to measure surface finish, but he argues that Ra does not
                                                        distinction between peak and valley parameters. For instance, a part
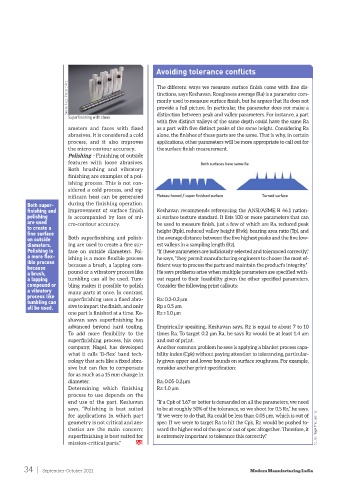
                         Superfinishing with stone.     provide a full picture. In particular, the parameter does not make a
                                                        with five distinct valleys of the same depth could have the same Ra
                         ameters and faces with fixed   as a part with five distinct peaks of the same height. Considering Ra
                         abrasives. It is considered a cold   alone, the finishes of these parts are the same. That is why, in certain
                         process, and it also improves   applications, other parameters will be more appropriate to call out for
                         the micro-contour accuracy.    the surface finish measurement.
                         Polishing –  Finishing of outside
                         features with loose abrasives.
                         Both brushing and vibratory
                         finishing are examples of a pol-
                         ishing process. This is not con-
                         sidered a cold process, and sig-
                         nificant heat can be generated
           Both super-   during the finishing operation.
           finishing and   Improvement of surface finish   Keshavan recommends referencing the ANSI/ASME B 46.1 nation-
           polishing     is accompanied by loss of mi-  al surface texture standard. It lists 100 or more parameters that can
           are used      cro-contour accuracy.          be used to measure finish, just a few of which are Ra, reduced peak
           to create a
           fine surface                                 height (Rpk), reduced valley height (Rvk), bearing area ratio (Tp), and
           on outside    Both superfinishing  and  polish-  the average distance between the five highest peaks and the five low-
           diameters.    ing are used to create a fine sur-  est valleys in a sampling length (Rz).
           Polishing is   face  on  outside diameters.  Pol-  “If these parameters are judiciously selected and toleranced correctly,”
           a more flex-  ishing is a more flexible process   he says, “they permit manufacturing engineers to choose the most ef-
           ible process
           because       because a brush, a lapping com-  ficient way to process the parts and maintain the product’s integrity.”
           a brush,      pound or a vibratory process like   He says problems arise when multiple parameters are specified with-
           a lapping     tumbling  can  all be  used.  Tum-  out regard to their feasibility given the other specified parameters.
           compound or   bling makes it possible to polish   Consider the following print callouts:
           a vibratory   many parts at once. In contrast,
           process like
           tumbling can   superfinishing uses a fixed abra-  Ra: 0.2-0.3 µm
           all be used.  sive to impart the finish, and only   Rp ≤ 0.5 µm
                         one part is finished at a time. Ke-  Rz ≤ 1.0 µm
                         shavan  says superfinishing  has
                         advanced beyond  hard  tooling.   Empirically speaking, Keshavan says, Rz is equal to about 7 to 10
                         To add  more  flexibility  to the   times Ra. To target 0.2 µm Ra, he says Rz would be at least 1.4 µm
                         superfinishing  process,  his  own   and out of print.
                         company, Nagel,  has  developed   Another common problem he sees is applying a blanket process capa-
                         what it  calls  ‘D-flex’  band  tech-  bility index (Cpk) without paying attention to tolerancing, particular-
                         nology that acts like a fixed abra-  ly given upper and lower bounds on surface roughness. For example,
                         sive but can  flex to compensate   consider another print specification:
                         for as much as a 15 mm change in
                         diameter.                      Ra: 0.05-0.2 µm
                         Determining which finishing    Rz: 1.0 µm
                         process to use depends on the
                         end use of the part. Keshavan   “If a Cpk of 1.67 or better is demanded on all the parameters, we need
                         says, “Polishing is best suited   to be at roughly 50% of the tolerance, so we shoot for 0.5 Rz,” he says.
                         for applications in which part   “If we were to do that, Ra could be less than 0.05 µm, which is out of
                         geometry is not critical and aes-  spec. If we were to target Ra to hit the Cpk, Rz would be pushed to-
                         thetics  are  the  main  concern;   ward the higher end of the spec or out of spec altogether. Therefore, it  Source: Nagel Precision Inc.
                         superfinishing is best suited for   is extremely important to tolerance this correctly.”
                         mission-critical parts.”


          34  |  September-October 2021                                                  Modern Manufacturing India

