BENEATH THE SURFACE

In the realm of manufacturing and engineering, precision and reliability are paramount. The machine tool industry plays a pivotal role in achieving these goals, enabling the creation of intricate components that form the backbone of various industries. One often overlooked factor that significantly influences the performance, durability, and quality of machine tool products is residual stress.
Unlike externally applied forces, which are temporary and disappear once the load is removed, residual stress is an intrinsic property of the material and exists even in the absence of external loads. Residual stress can arise from a variety of
processes, including Machining, Casting, Welding, Heat Treatment, Forming etc. Residual stress plays a vital role in shaping the mechanical properties of materials present in the components.
Connection between residual stress and the performance of machine tool components
- Machine tool components, such as Beds, Columns, Guideways and Spindle Housings, etc., require high dimensional accuracy to ensure precise machining operations. Residual stress can cause distortion and warping during manufacturing processes, leading to deviations from the intended dimensions;
- Machine tool components experience dynamic loads and vibrations during operation. Residual stress can significantly impact fatigue life – the number of load cycles a component can withstand before failure;
- Machine tools must maintain structural integrity to ensure safe and reliable operation. Residual stress-induced distortions can compromise the alignment of the structural assembly, leading to reduced stability and precision.
Need for residual stress measurement
It has been observed that many castings and structures start cracks and lose their strength prematurely during various stages of processing or usage.
Knowingly or unknowingly, one spends a fortune on stress-relieving processes without understanding whether it is required or not and whether the heat treatment cycle is optimized or uniform throughout the structure or not.
Most of the stress-relieving heat treatment cycles are done based on some thumb rules or based on some age-old procedures the heat treatment cell follows. How to quantify the stresses and say that the stresses on the components are completely relieved? The answer is through measuring the residual stresses.
Residual stress measurement using XRD
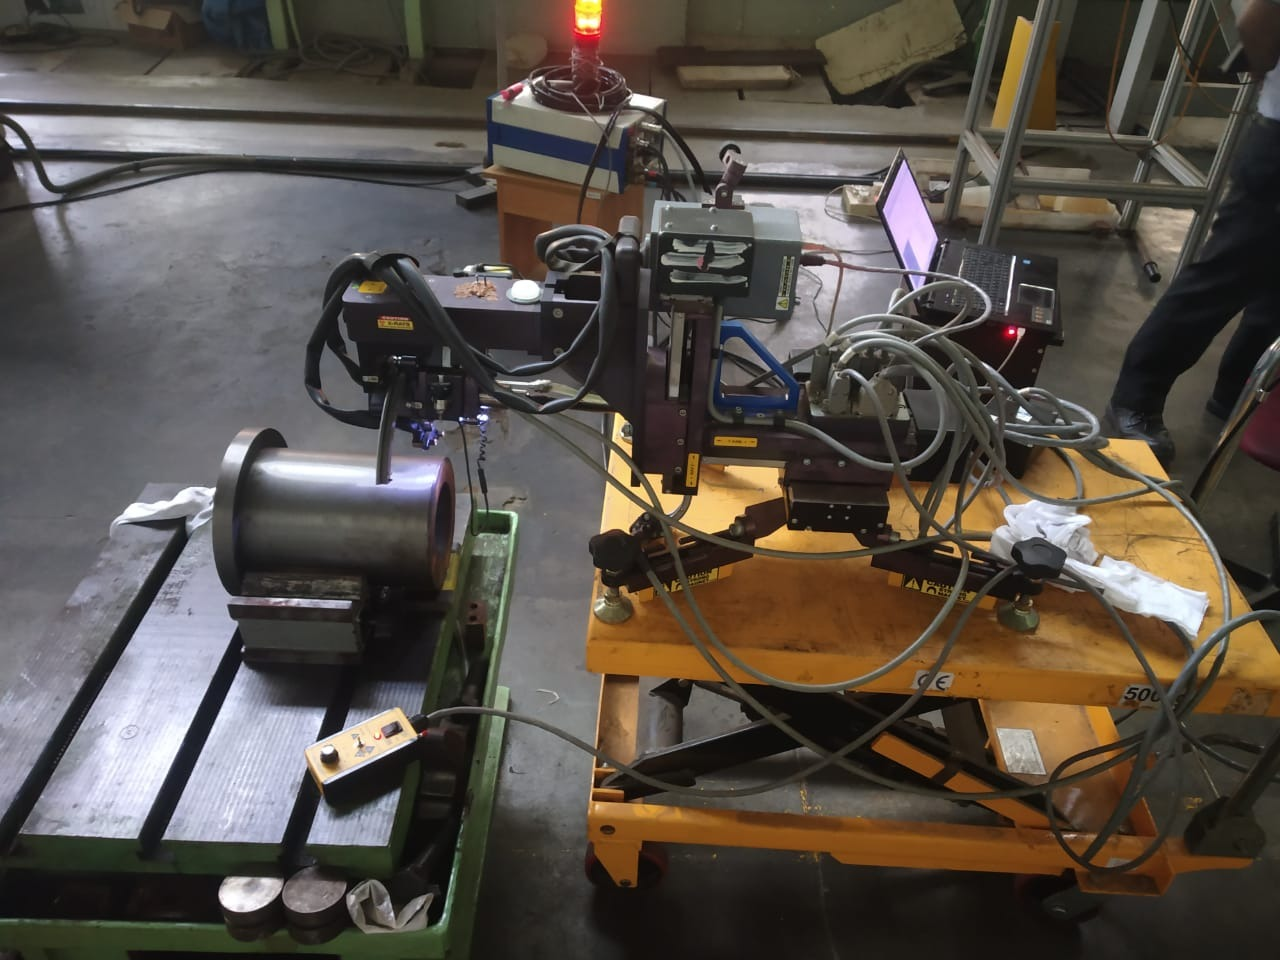
Today due to the advancement in measurement technology, non-destructive portable X-Ray Diffraction-based systems are available to quantitatively measure residual stress on components and castings to qualify the manufacturing/heat treatment process.
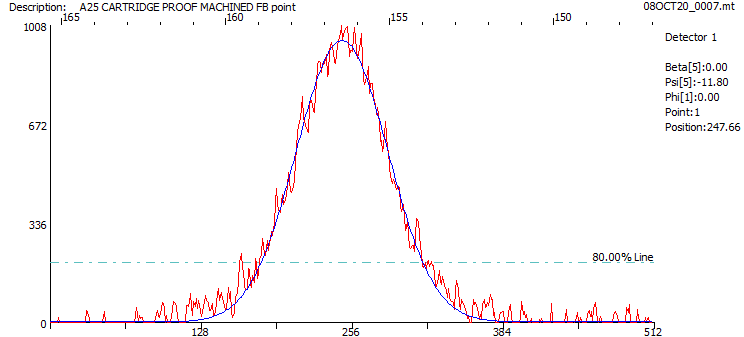
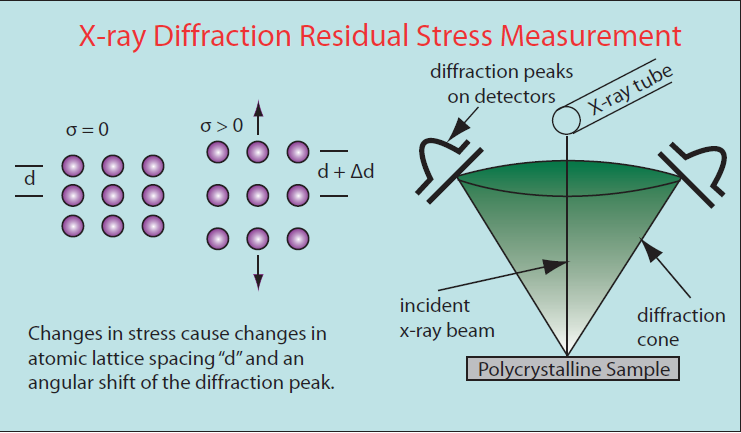
X-Ray Diffraction method exploits the ability of the X-Ray to measure the distance between atomic planes (d-spacing) in the materials. It works using the principle of Bragg’s law. When the material is under compressive or tensile stress conditions, the d-spacing will reduce or increase respectively. XRD equipment uses this change in d-spacing to quantitatively measure the value and direction of residual stresses.
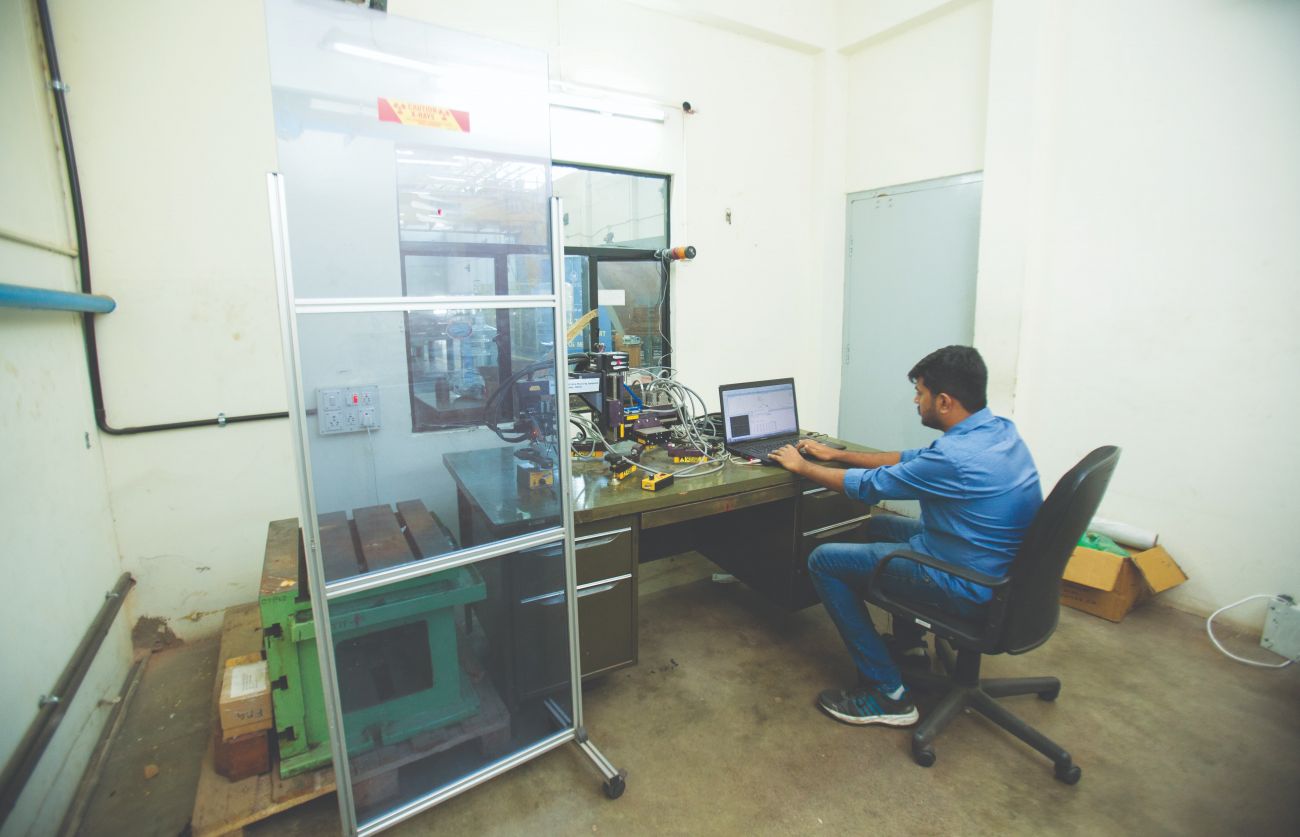
The Advanced Machine Tool Testing Facility (AMTTF) houses portable XRD equipment which can help manufacturers to understand the changes in residual stress during different processes of manufacturing like, as casted, after rough machining, after stress relieving, after finish machining etc.
Case Study 1: Structural Integrity of Machine Components
In collaboration with a machine tool builder, AMTTF investigated residual stresses in critical components such as Casting beds and Columns. By analyzing XRD data, the change in the pattern of residual stresses during different processes of manufacturing was identified and, subsequently, the heat treatment processes were optimized to ensure that the components met rigorous reliability and performance requirements. This data-driven approach minimized the risk of dimensional instability and misalignments on the machine over a period of time.
Case Study 2: Increasing Fatigue Life and Reliability of Machine Components
In collaboration with a machine tool builder, AMTTF has carried out a residual stress study on critical components of the tool clamping/de-clamping mechanism. Subsequently, manufacturing processes were optimized to increase the life of the mechanism multifold by improvising the residual stresses on the critical components.

|
The primary objective of AMTTF is to support the Manufacturing industries across India by providing accurate and reliable testing and calibration services for Machine Tools, in particular, and generally for other Engineering industries. |
Knowing AMTTF
AMTTF in Bangalore, India, is a state-of-the-art facility that specializes in providing testing and calibration services for Machine Tools and other Engineering industries. The facility is established in the year 2011, as a joint project by the Government of
India, Indian Machine Tool Manufacturers’ Association (IMTMA), Industry partners, and Central Manufacturing Technology Institute (CMTI).
The primary objective of AMTTF is to support the Manufacturing industries across India by providing accurate and reliable testing and calibration services for Machine Tools, in particular, and generally for other Engineering industries.
The vast list of customers includes major Machine Tool builders like ACE Designers, AMS, BFW, MGTL, Precitec, UCAM, Kennametal, etc., and Defence and Aerospace companies like HAL, NAL, L&T, Boeing, BFL, Poeir Jets, etc., and Auto companies like ARAI, Ather Energy, Bosch, Brakes India, Hero Motors, Wheels India, TVS, Mahindra, Mahle, Musashi, TAFE, Rane, etc. and other institutes and companies like PSG College, IIT-Madras, NIT-K, GE, Lam Research, Timken, Triveni Turbines, TUV, Wipro etc.
AMTTF offerings
- Non-destructive method of stress measurement;
- Trend-based analysis of residual stresses on one’s component during various processes of manufacturing;
- Sub-surface stress measurement by chemical etching and measurement;
- No limitation on the size and weight of the job and no need for sample preparation.
|
The primary objective of AMTTF is to support the Manufacturing industries across India by providing accurate and reliable testing and calibration services for Machine Tool and other Engineering industries. |
Conclusion
From precision machining to fatigue and crack resistance, thermal stability, and beyond, residual stress can either elevate or undermine the performance of machine tools. By integrating advanced residual stress measurement techniques, manufacturers can gain valuable insights into these hidden stress patterns, enabling them to optimize processes, enhance quality, and ensure the long-term reliability of machine tool components. Embracing the power of residual stress analysis is not just a choice; it’s a strategic investment in achieving excellence in the Machine Tool industry.


 Facebook
.png) Twitter
Twitter Linkedin
 Subscribe